Friday, October 31, 2014

Winter Art Frame

I have many customers that love to make the Framed Art.  The Halloween one was fun.  I loved all the sayings we had on it.  Plus the spooky house and bats.  So sorry if you missed it.  But the good news is that I have completed the Winter Framed Art.  I will show you bits of it to entice you to want to come and make it.  Here is the first peek.
So this is the top row.  Yes I love cardinals.  So we had to put those in.  The cardinal was made by using the bird punch.  It was exciting to see how you can make this bird look like a cardinal.  It took some thought but when it was done, I could say it was really not that difficult.  It just took some thinking, which is not always easy for some of us.  I like to get things done.  I am not very patient with putsy things.

You can see that I used the new tag punch from the holiday catalog.  Love that tag punch.  It worked well for this project.  I also love the sequins and snowflakes that come together that are a great embellishment to add to the project (or many projects as I have).  I also had to incorporate the snowflake charm embellishment.  It is just too cute not to show off.  I also love love love the stamp set with the polar bear, trees, birds, snowman and all the other stamps in the set.  Again I love to look at snow scenes just don't make me go outside for very long.  Many moons ago I did like to cross country ski.  That was way back when I was in college.  I know my best friend from college probably still cross country skis.  Kathy, you go girl. 

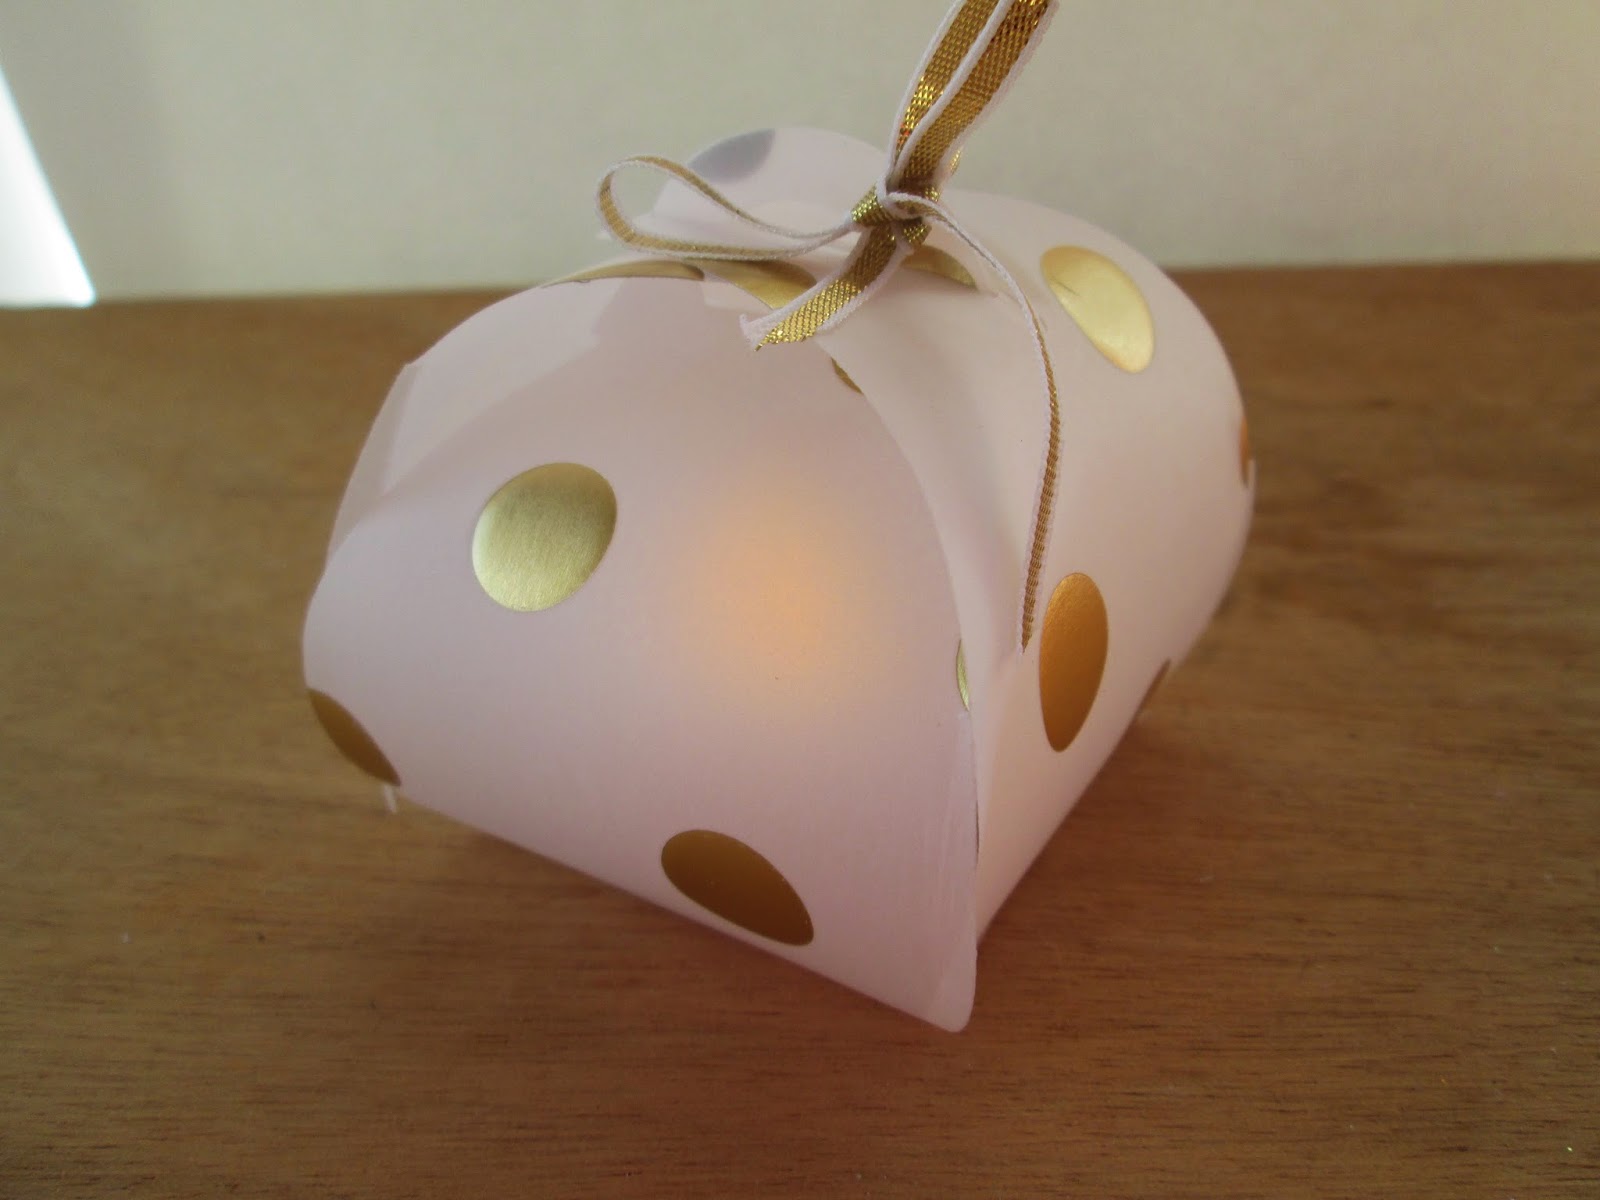
Well I gotta run and get everything ready for tomorrow morning.  Oh did you forget to sign up for the curvy box class?  You have until 6pm to let me know you are coming.  Janice

Thursday, October 30, 2014

Curvy boxes day 4

So you are back to see the 4th box.  Well I am going to show you one that we will not be making.  This one is using vellum.  I put a battery operated candle in the middle so it lights up.  How cool these would be on a mantel or holiday table. 

I apologize that I had to take this picture in a slightly darker room so that you could see the effect the candle gives to the curvy box. I also took a picture of it in the light.  I used the vellum that has the gold dots on it.  Tied a gold ribbon on the top.  I think I should add a tag.  There are 3 tag shapes to go with the curvy box framelit in the kit.  So you can add that very easily.  Who needs to order this?  I am placing an order tonight.  So let me know by 6pm and I will get it ordered.


I look forward to showing you more on Saturday.  If you are not coming to the class on Saturday......... Oh well you will have to wait longer to see more curvy boxes.  Just saying Santa and football are in the air.......

Janice

Wednesday, October 29, 2014

Curvy boxes day 3

I could not decide which one to show you.  I am having so much fun playing with these.  But I decided to stick to the ones you will be making on Saturday, Nov. 1st.  Have you signed up?  I only have 3 spots left. 


If you know me, I do not like winter.  I think the first snowfall is beautiful.  Then when the snow gets dirty it is ugly.  I do not care to participate in any outdoor sports in the winter.  But I do love looking at snowmen that other people make.  I like to make one or two if it isn't too cold outside (I'm such a wimp to cold weather).  So winter does give me more reasons to stay inside and stamp. 

So here is my version of the snowman.  I love the dazzling details on his hat and carrot nose.  It adds so much more to how cold the snowman needs it to stay alive.  The carrot nose is a small heart that I folded in half.  So clever if I do say so myself.  Now I have been making snowmen for awhile and this is the first year I have done this.  So who is going to burst my bubble and tell me that they have been doing it for a long time?

Again I am looking forward to seeing you make your own this Saturday.  Janice

Tuesday, October 28, 2014

Curvy box day 2

I hope you came back to see what the next curvy box would look like. 


Rudolf the Red Nose Reindeer............................... 
The antlers are oak leaves and his ears are the acorns from the same die.  The eyes are circles punched out and then candy dots.  Now isn't he stinking cute?  Have you signed up for the class this Saturday?  You better hurry.  I only have 4 spots left.  Janice

Monday, October 27, 2014

Curvy Boxes Day 1

Have you used the curvy box framelit yet?  Well if you have not you have got to come to my technique class this Saturday, Nov. 1st.  The class is only $10.  Class starts at 9am but a few ladies sleep in a little and stroll in by 10:30am.  RSVP by Friday at 6pm so I have enough cardstock ready for you to create.

Today was my first day of really playing with it.  Well I could not stop.  I now have so many ideas I can't wait to put more together.  I put 5 together in a matter of a few hours.  So you will be able to put 4 boxes together in a matter of an hour and a half!!!!  Then duplicate them for your friends and family.  I will have more samples for you to see on Saturday.

Today I am just teasing you with just one of the adorable boxes.  Now how can you not want to come and make these????????


Isn't he just the most adorable penguin you have seen...........  And he is so easy to make.  Trust me.  Ok so this is just one of them.  Come back again tomorrow and I will post another one.  Janice

Sunday, October 26, 2014

Stars

This card was a last minute design. Some times my last minute thoughts can make darn cute cards. This time I love this card. It was because I had my hostess club using a piece of glitter paper that was going to be mostly covered.  I can't waste beautiful paper. So this card used a star shape from that glitter paper before they put their other card together.

The trick was you cut out a smaller size star from the "Trim the Tree Designer Series Paper Stackable" which is on page 7 of the holiday catalog. Love this paper by the way. Then you put adhesive on the back of the slightly larger glitter star. Hold the glitter star behind the hole of the green star. Now lay them down on the front of the card. The green card should not be stuck. But you have the glitter star in the right place. I added the beautiful red satin ribbon (found on page 15 in holiday catalog).  Then I used dimensionals and popped the green paper. Now the glitter star shows through in the correct place.

I added the snow flake embellishment (on page 22) to finish the card. Now this would make a great easy but beautiful Christmas card.  Oh and to use everything I put the green star I cut out on the inside of the card. 


I will be placing my last order for October on Thursday night. So let me know what you need. You will have it by the 7th of November in time to complete your holiday cards with time to spare.

Email or call me. Stampingwithjaniceb@gmail.com or 262-498-4905.